When you are in Setup Assistant, you can open Terminal or Console by pressing:
CTL + OPTION + CMD + T (for Terminal)CTL + OPTION + CMD + C (for Console)
Terminal will then launch as _mbsetupuser which is the user that Setup Assistant runs as.
Now that we have Terminal launched, what can we do with it?
Pretty much anything that doesn’t require elevated privileges.
The most common use would be to get the IP address of the machine while it is at Setup Assistant using either ifconfig or networksetup.
Since Terminal is launching as _mbsetupuser, we can’t do anything that requires root level permissions. But if we enable the root user ahead of time, we can elevate our permissions to do things that are more interesting.
Enabling root on a machine that hasn’t gone through setup assistant
- Start up your machine into single-user mode.
- Mount the boot drive as read/write:
/sbin/mount -uw / - Enable opendirectory:
launchctl load /System/Library/LaunchDaemons/com.apple.opendirectoryd.plist - Enable root password:
passwd root - Reboot:
reboot
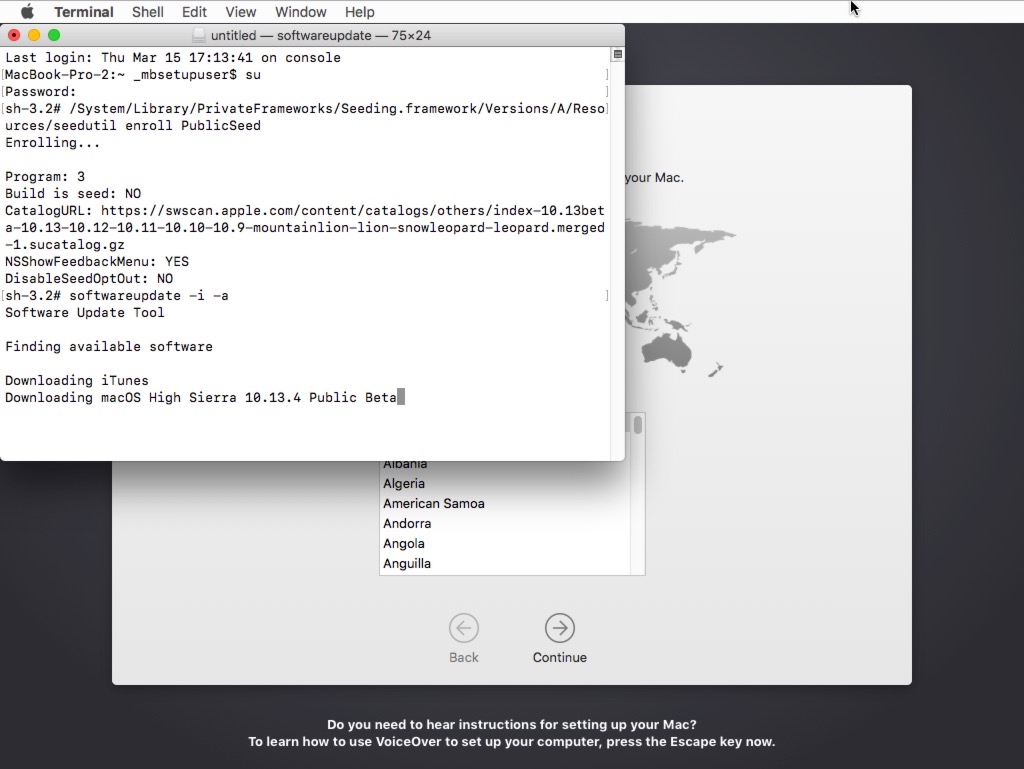
Now when we start up the machine and it is at the Setup Assistant, when we launch Terminal then change our user from _mbsetupuser to root with su.
One interesting thing we could do with this is to take an unconfigured machine with a release version of macOS and upgrade it to a beta version of macOS before it has been configured so, for instance, we could test upcoming changes in DEP enrollment.
Rich Trouton has a very nicely detailed article on using seedutil in High Sierra to enroll a machine into Apple’s macOS beta software update channel that is worth a read. Here I’ll quickly cover how to enroll our un-configured Mac to receive betas from the public beta feed. Assuming you’ve already enabled root in single user mode (and that you are a member of the public beta program):
- Open Terminal at Setup Assistant
- Elevate yourself to root:
su - Enroll in the public beta feed:
/System/Library/PrivateFrameworks/Seeding.framework/Versions/A/Resources/seedutil enroll PublicSeed - Run softwareupdate to install all updates:
softwareupdate -i -a - Reboot:
reboot
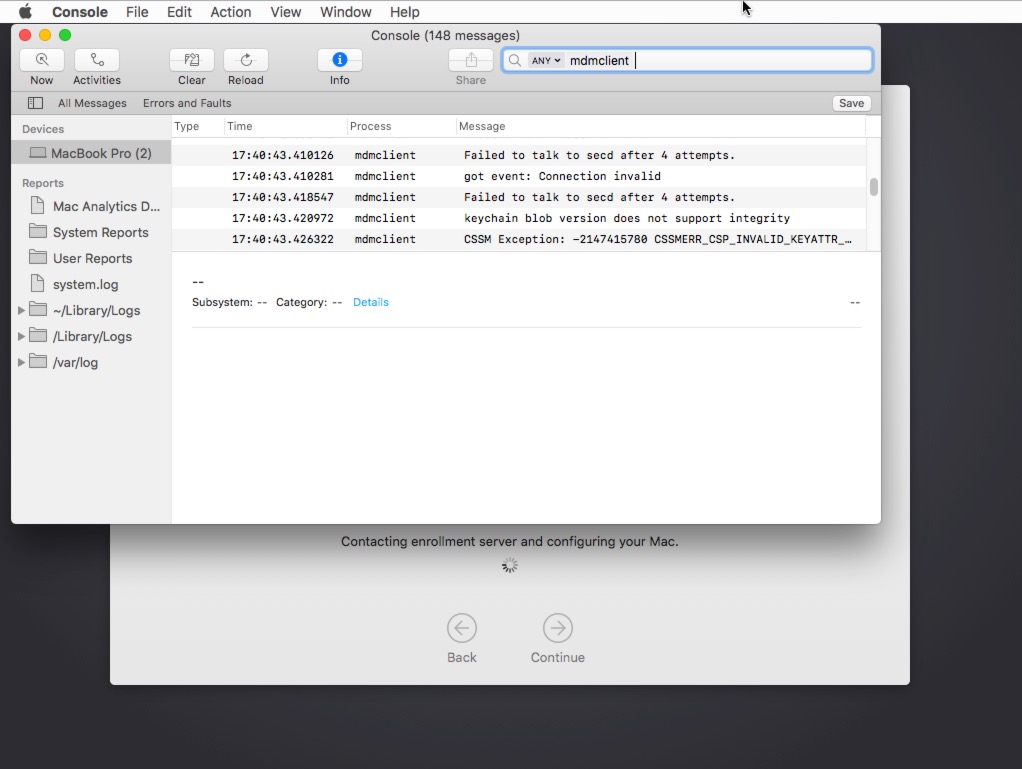
Using Console
You can also launch Console as noted above. One reason you might want to do this is troubleshooting by monitoring the logs for the mdmclient process as you attempt to enroll the machine through DEP, tailing the Jamf log or whatever bootstrap processes you have that might get triggered before the machine has moved passed the Setup Assistant.
 ]]>
]]>
 ]]>
]]>